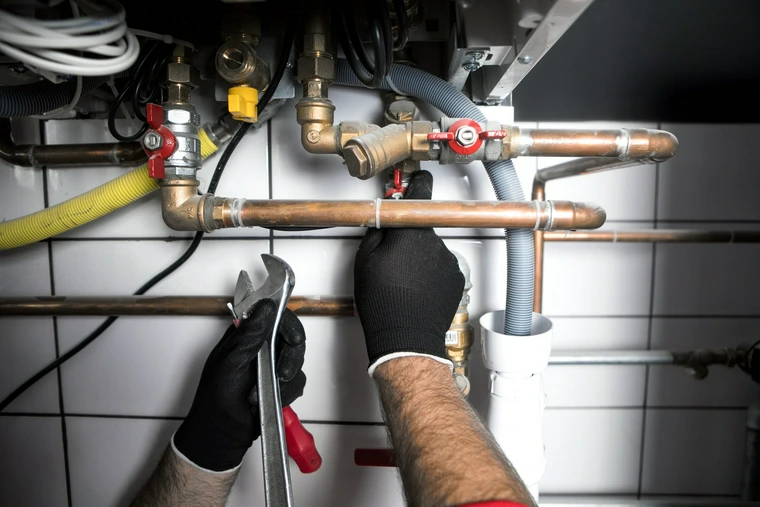
A burst pipe can cause significant damage to your home. Knowing what to do right away can help minimize water damage repair costs. Here are the steps you should follow if you have a burst pipe in your home.
Shut off the main water valve first
First and foremost, locate your main water shut-off valve and shut it. Each minute a supply line is flowing unrestricted can dump 10 to 20 gallons into your home, and that adds up quickly.
The valve is typically in one of three places: out near the street at the property line (it may be in a box underground), in the basement near where the main line enters the house, or in a mechanical room. If you don’t know where yours is, locate it today – not after a pipe bursts. Turn it clockwise to shut it off. Then open a faucet on a lower floor to bleed the lines.
Cut power to the affected areas
Water and electricity are a dangerous combination. Before entering a flooded area, go to your breaker panel and turn off the power supply to that location. If you are not sure which breaker is connected to the part of the house that has been flooded, just turn off the main switch.
Do not assume electric outlets are safe just because they appear dry above the water level. Water can seep through wires and spread inside the walls of your house. Unless an electrician declares the area safe, power outlets in wet areas must be treated as live.
Document everything before you touch it
Your insurance pay out is based on what you’re able to claim. Before you start draining the water or discarding your possessions, you need to document it all. To begin, walk through the impact of the burst pipe with a camera or smartphone in hand. Record the location and conditions, including the depth of water, the point on pipes where the leak or rupture occurred, and the waterline on walls.
Film the area itself, preferably with a brief room-by-room tour. This will show the point of origin for the water in the pipes and the full extent of the damage. Include all of your damaged property. Go wide enough to see the property in the context of the entire room and then come in close for your detailed shots.
Now switch to taking still shots with as high a resolution as possible. Get a wide shot of each of your rooms and then come in close of the pipes and their components, and any appliances, property, walls, and ceilings that were damaged.
Remove standing water safely
After confirming that power is off and securing the area, you can start extracting standing water. A wet/dry vacuum is effective for shallow water. For the rest, use towels and mops. Remove items from wet floors – rugs, furniture, boxes – so they don’t continue to wick up water and add to the damage.
Never use a regular household vacuum. They are not meant to be liquid-tight and pose an electrocution hazard. If there’s a large volume of water, this is the moment to contact specialists with truck-mounted extraction gear.
Call a certified restoration company – don’t try to dry it yourself
This is where most homeowners underestimate the damage. Opening windows and pointing box fans at wet carpet will not dry the water that’s soaked into your subfloor, wicked up your drywall, or settled inside wall cavities. That moisture stays there, and within 24 to 48 hours it can become a mold problem.
Professional restoration companies use industrial dehumidifiers and thermal imaging cameras – tools that detect moisture pockets hidden behind walls and under flooring without tearing anything apart. Thermal cameras let technicians map the full extent of the saturation so the drying plan actually covers the problem, not just the visible surface.
IICRC-certified contractors follow a science-based drying process called psychrometrics – monitoring temperature, humidity, and airflow together to remove moisture from building materials systematically. That’s a different process from what any consumer equipment can replicate. Homeowners in desert climates can be particularly vulnerable here, because stucco exteriors and concrete slab construction trap moisture differently than wood-frame homes. Contacting a specialist in water damage restoration Tucson AZ ensures someone who understands those specific materials is handling the drying, not guessing.
Understand the difference between mitigation and restoration
The distinction between the two words is often blurred, yet the two phases are different, and have different objectives.
Mitigation is the rapid phase, the emergency stop-the-damage-first work, which may involve extracting water, boarding up homes and businesses, or other actions needed to prevent further loss happening there and then. It’s typically days, not weeks.
Restoration is the extended phase, the work required to return your home or business to its pre-damaged condition (or better). A typical restoration job takes three weeks to a month, sometimes much longer for complex or large commercial jobs. Trying to skip ahead to restoration before drying is complete is one of the most expensive mistakes homeowners make, because moisture sealed behind new materials creates the exact conditions mold needs to establish itself.
Your insurance company will need records from both phases, mitigation and restoration. Seals from the disaster response team when they arrive on-site, showing what they did, stay with your paperwork for the rest of the claim. Be equally diligent with both sets of records.